
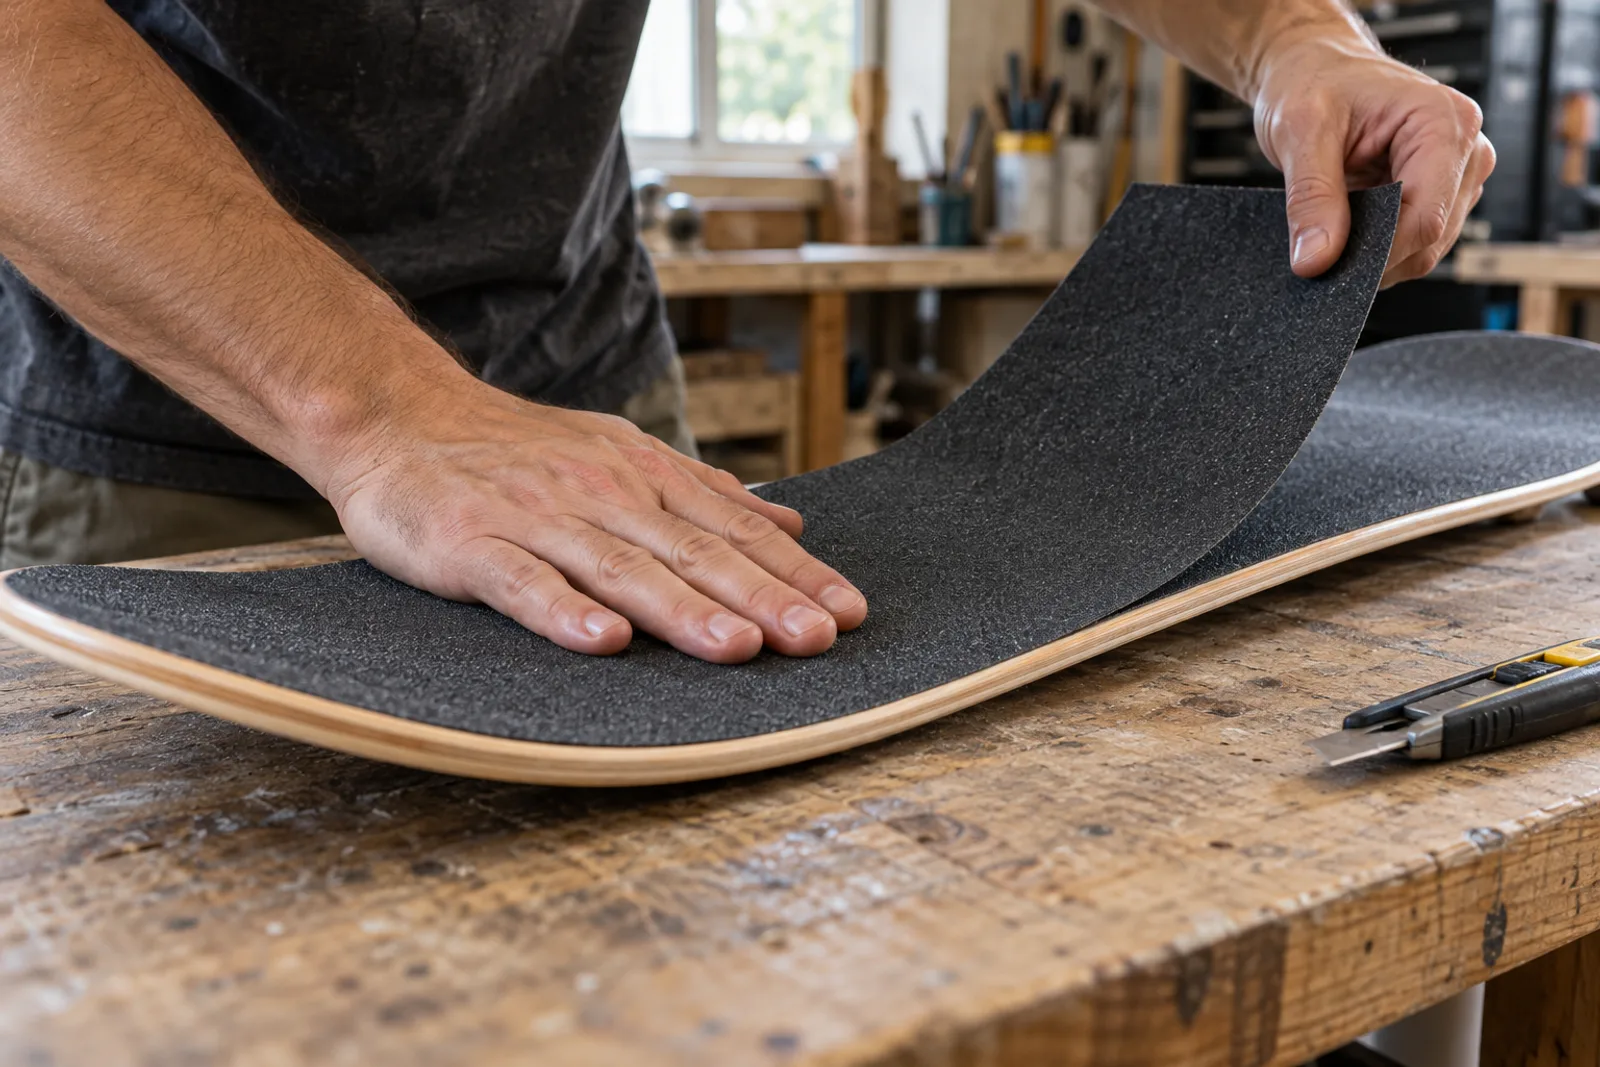
Applying grip tape to your deck sounds trivial, but the first time is where most people go wrong: bubbles that won’t go away, ugly edges, grip tape that lifts after two weeks. Doing it properly takes about 10 minutes if you follow the right order.
What you need
- A new sheet of grip tape (Mob Grip, Jessup, Grizzly…). 8-12€.
- An allen key or skate tool: to mark the outline.
- A sharp utility knife.
- Fine sandpaper or the flat side of the knife to smooth the edge after cutting.
- A deck.
Step 1: prepare the deck
If it is a new deck, it is already clean, so skip this step.
If you are replacing old grip tape, lift the old sheet first from a corner (a heat gun can soften the adhesive). Clean off the sticky residue with isopropyl alcohol and a rag. The surface has to be clean and dry before you apply the new sheet.
Step 2: stick the grip tape down (the key part)
- Lay the deck on a flat table with the top side facing up.
- Peel back 5-10 cm of the backing paper from the grip tape (the adhesive side). Don’t peel it all off at once.
- Align that end with one end of the deck (nose or tail, it doesn’t matter). Centre it sideways: the grip tape should overhang equally on both sides.
- Stick down that first section, pressing firmly with your palm from the centre towards the edges.
- Peel off the rest of the paper gradually as you lay down the rest of the sheet. The technique:
- Keep holding the unstuck part up in the air.
- Peel back another 10-15 cm of paper.
- Press down from the middle of that section towards the edges with your palm.
- Repeat until you reach the other end of the deck.
Step 3: mark the outline
The grip tape overhangs the edge of the deck. You have to mark the outline before cutting:
- With the grip tape stuck down, take an allen key (3-5 mm) or a screwdriver with a similar tip.
- Run the key all around the perimeter of the deck, pressing firmly against the edge. The friction leaves a visible white line on the grip tape, and that is your cutting guide.
- Check that the line is continuous all the way around.
Step 4: cut with the knife
- Correct knife angle: 30-45° relative to the surface of the deck, NOT perpendicular.
- Rest the blade on the white line and cut along the perimeter.
- One steady pass: don’t lift the knife halfway, because it leaves steps.
- Go slowly the first time. With practice it takes about 30 seconds.
Step 5: smooth the edge
After cutting, the edge can have loose threads or a rough texture. There are two ways to smooth it:
- Run the flat side of the knife (the blunt part) all around the perimeter.
- Rub a piece of leftover grip tape against the edge.
Both methods break off the loose bits and leave a clean finish.
Step 6 (optional): make the bolt holes
If you are going to assemble the board right away, you don’t need to make holes: the bolts go through the grip tape when you push them in from underneath. If you want to make them beforehand:
- Push a bolt in from the underside until it sticks out through the grip tape.
- Run a tool through to keep the hole open.
Decoration: creative cuts in the grip tape
Some skaters cut designs into the grip tape (koi fish, tribal patterns, etc.) so the graphic underneath shows through. If you want to try it:
- Print or draw the pattern on paper.
- Tape the paper onto the grip tape.
- Cut along the pattern with the knife.
- Remove the paper when you are done.
It is purely decorative and doesn’t change how the board skates.
Common mistakes
- Peeling all the paper off at once: it guarantees bubbles. Peel gradually.
- Not aligning the starting end: if that first section goes on crooked, everything is crooked.
- A dull knife: a dull blade tears the grip tape instead of cutting it cleanly. Change the blade before you start.
- Cutting perpendicular: it leaves an ugly edge. Tilt the knife.
- Not smoothing the edge: the loose threads come away and leave a visibly sloppy finish.
Where to go next
- How to build a complete skateboard: the rest of the setup.
- How to choose your first deck: to pick the right deck before applying the grip tape.
- How to clean your bearings: another basic maintenance job.
- How much a complete skateboard costs: includes the cost of grip tape.
Frequently asked questions
How often should you change the grip tape on a board?
A decent grip tape (Mob Grip, Jessup) lasts 6 to 12 months with normal use. Change it when it no longer grips, when the edges lift, or when you set up a new board. Most people change it once or twice over the life of a deck.
Do I have to clean the board before applying new grip tape?
On a new deck, no: it comes clean from the factory. If you are replacing old grip tape, yes. Remove adhesive residue with isopropyl alcohol or a mild solvent, let it dry, then apply.
Why do I get bubbles when I apply grip tape?
Because you peel the whole backing paper off at once instead of a little at a time. The right technique is to peel back 5-10 cm from the starting end, align it, stick that part down, and then unroll gradually while pressing from the centre outwards.
How do I cut grip tape without leaving frayed edges?
After sticking the grip tape down, mark the outline by running an allen key all around the edge of the deck. You will see a white line. Cut with a utility knife tilted at 30-45° (not perpendicular) in one steady pass.
Mob Grip or Jessup?
Mob Grip has more aggressive grip, lasts longer and costs about 10€. Jessup sits in the middle at about 7€. For casual skating Jessup is plenty. For a technical skater who spends hours on the board, Mob Grip is worth the price.
Conversation
Your name will be public. Your email stays private. Comments are reviewed before publishing.